- Creation of 3D models
1.1. Selection of figurines
First we selected from among the figurines. At the beginning we were very ambitious and wanted to have 3D models of all 9 of our Kamelarga figurines but it turned out to be quite a time consuming process.
We are fortunate enough to have the equipment in house and rely on volunteers—students and others—to learn 3D skills as part of the voluntary experience, for which we give them training. But since time was an issue, we used 3D models already created by James T. Lloyd, an advanced PhD candidate, working together with several undergraduates on a student-led project to assess the usefulness of virtual models in teaching – VACT. Models of two figurines, a female with tambourine and the male warrior (specifically 47.2.29 and 47.2.27) had been uploaded to our sketchfab site (www.sketchfab.com/uremuseum): These two were selected because they were part of a group of terracottas to be studied and handled by our first year undergraduates during a seminar for our Archaic Greek History module.
1.2. Photogrammetry
Volunteers, work placement students, undergraduates, PhD candidates and museum staff have taken photographs of the figurines using a Canon EOS 750D camera with tripod and two sets of lights. Between the lights, we set up a lighthouse and placed inside a turn-table. Each figurine was placed on the turn-table, and captured every 5 degrees of a turn. A total of 74 (female musician) and 75 (warrior) photographs were taken, when each figurine had completed 3 rounds of the turn-table from different angles[1]. Due to the fragmentary state of the figurines, we had to use a special support to keep them stable, which was also photographed and hence, rendered in the 3D model obtained using Photoscan Agisoft.
- Create 3D replicas
2.1. Use of different printers
At first our original 3D printer—a Cube Pro Duo—became erratic and had to be recalibrated. During the first part of the project, therefore, we relied on a few bespoke printers created by one of our PhD students. All figurines were printed in PLA (polilactyde acid), a non-toxic biodegradable thermoplastic derived from corn starch or sugarcane.
2.2. Experimentation of different textures
In each case, however, due to the nature of the 3D printing whereby layers are piled upon each other, we needed to create a new base for the fragmented figurines, which of course altered the height and resulting authenticity of the 3D print. Another detail to take into account is that the support used in the museum to secure the figurines vertically has been photographed and not edited in Blender, hence it appears on the back of 3 terracottas as a thin pole attached to the back.
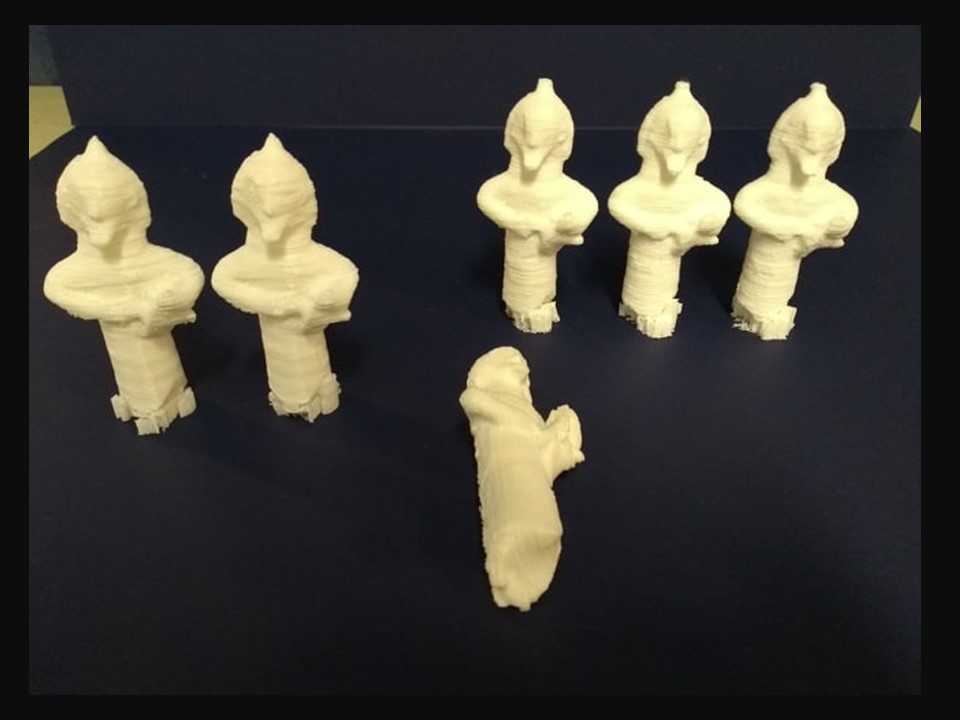
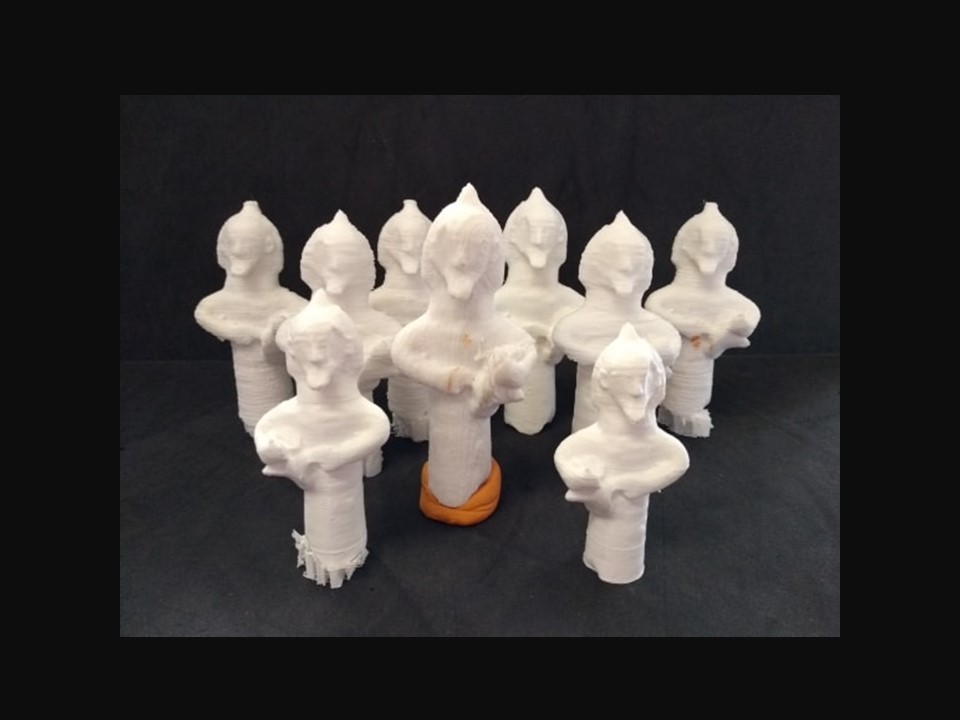
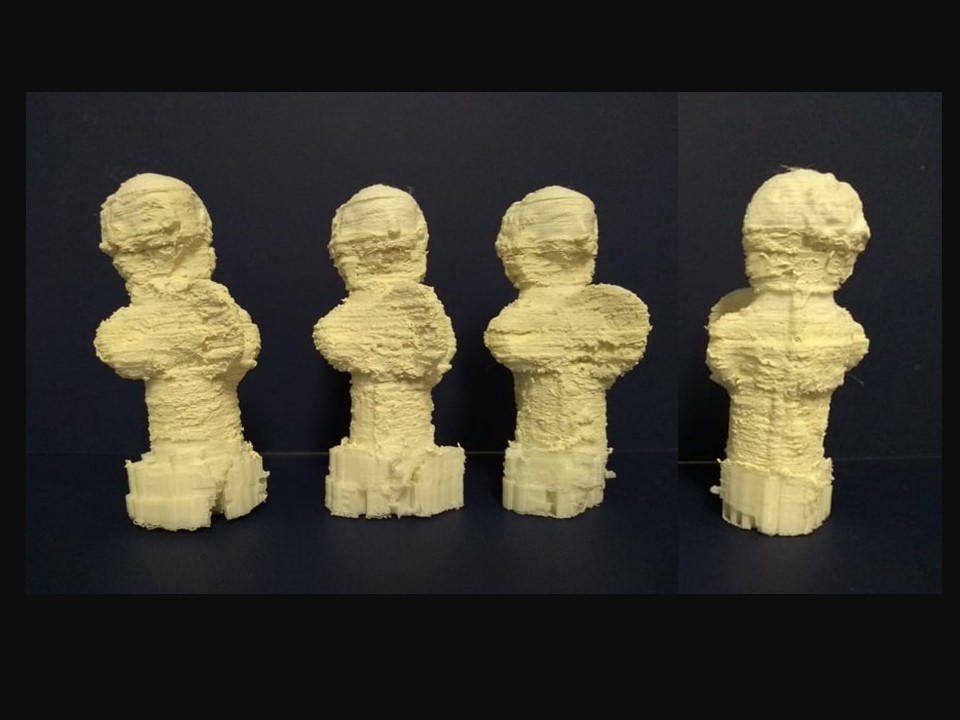
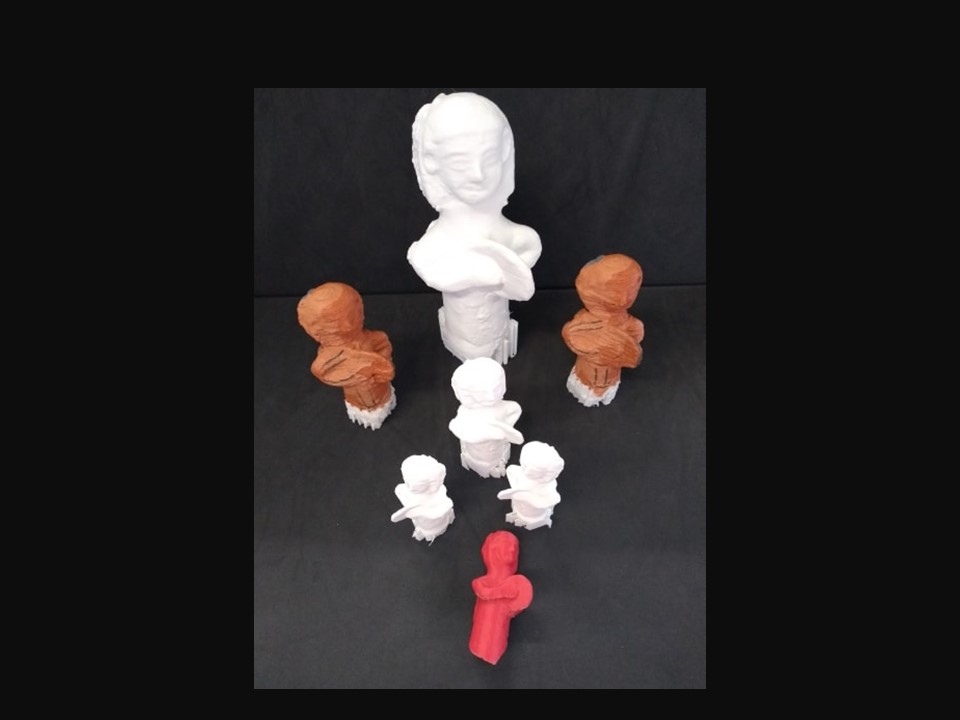
We have experimented with different printing resolutions and textures, which resulted in several versions of the male warrior, 47.2.27: 2 light figurines in low resolution, 3 heavier ones and 1 without artificial base, which is yet heavier. The variety of printing qualities resulted in the held attributes looking different from front to print of the same figure, so that they are not easily identified from the prints. Then again it is sometimes hard for us to identify them in the original figurines. Finally we were able to print 3 more light figurines with better resolution.
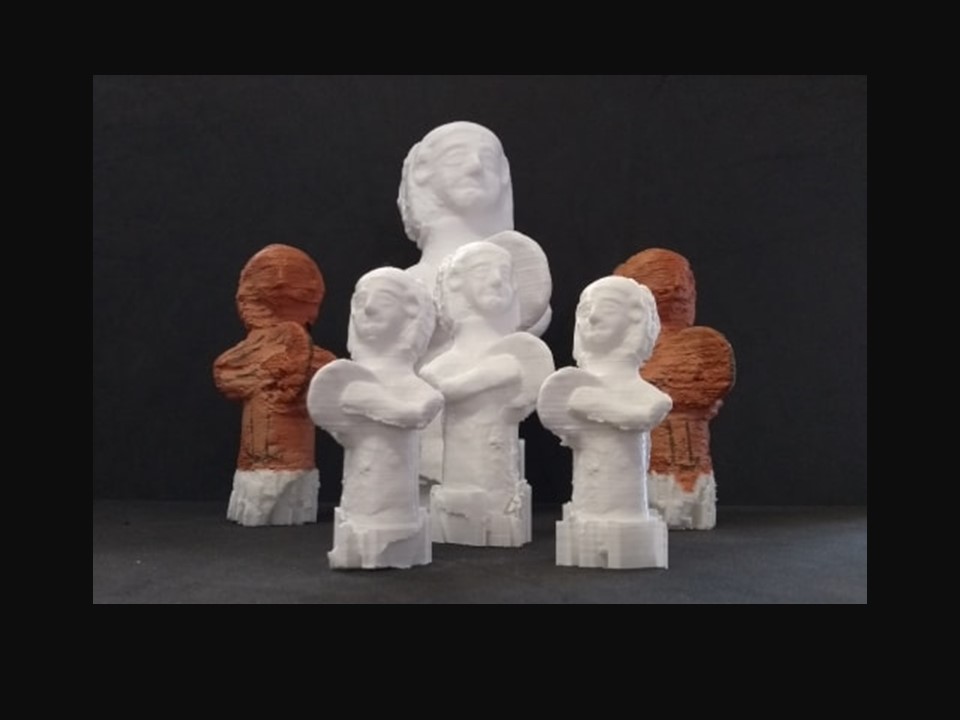
Of the “tambourine” player, 47.2.29, we made 4 very heavy layered replicas that needed to be sanded. We have made a larger version of this figurine, printed in separate sections that were joined together and a few lighter and smaller versions of them including on printed as a mirror opposite to the original. When the CubePro printer was fixed, we first printed one figurine in high resolution and another one with the base and the concretions edit= being a total of 20.
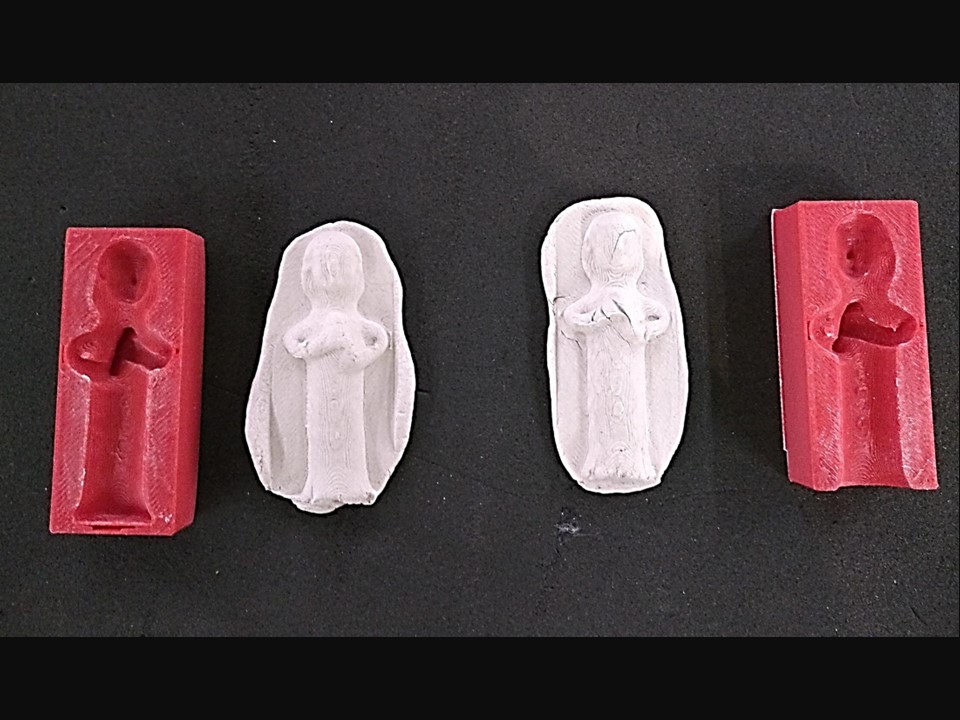
We also printed a “negative” version of 47.2.33 to produce a “mould” and recreate casts of the figurine. Thus, by pressing air-drying clay into the printed mould, learners are able to reproduce/mimic the manufacturing process of these terracottas, while, at the same time, they get to take home/school a copy of them, a “new” figurine, which will enable them to continue and extend the analysis of the artefact.
To know more about 3D printed replicas as educational resources, click here.
[1] The first set of photographs was shot from a 45 degree angle with regard of the object, to have a good view of the upper part. The second set of photographs was shot from a position almost parallel to the artefact, to capture details of the face and surface. The third set comprised photographs from -45 degrees, to get a complete vision of the lower part.


